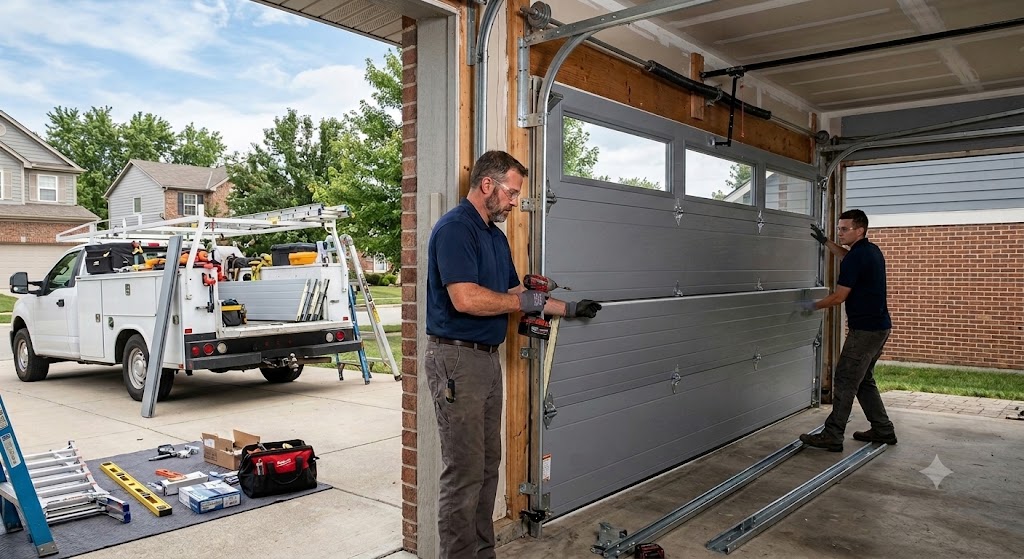
Most installation guides treat a garage door like a simple assembly job. Measure the opening, hang the panels, connect the opener. What they leave out is what actually determines whether a door runs smoothly for the next twenty years or starts causing problems within months.
We at Affordable Garage Doors install garage doors across Alabama and this guide covers the seven steps that separate a properly installed door from one that merely looks finished.
Step 1: Measuring Goes Beyond Width and Height
Most guides tell you to measure the width and height of the opening and stop there. A correct measurement also accounts for a few other clearances that matter just as much:
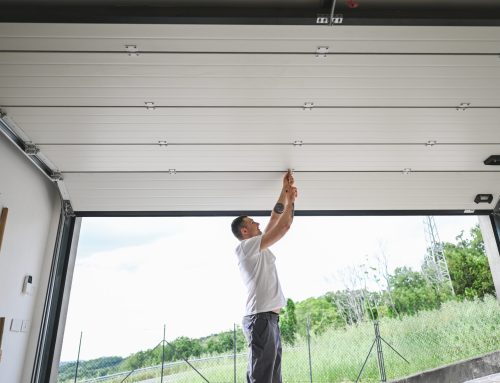
- Headroom above the opening, since standard track systems typically need several inches of clearance to operate.
- Side room on both jambs, where the vertical track and spring hardware get mounted.
- Backroom depth inside the garage, so the horizontal track has room to run.
Skip any one of these and you can end up with a door that technically fits the opening but has no room for the hardware that actually makes it work.
Headroom in particular catches people off guard. Low profile track options exist specifically for garages that do not have the standard clearance, but only if you know to ask for them ahead of time rather than discovering the problem mid installation. If you are still weighing which door style fits your garage, our Modern Steel collection is a good place to start, since it comes in several track and layer configurations.
Step 2: Checking the Framing Before Anything Gets Installed
A door is only as good as the opening it is mounted to. Before a single bracket goes up, the framing around the opening needs to be square, level and strong enough to hold the weight of the track and door under operation. An opening that is even slightly out of square will cause binding or uneven wear down the line no matter how well the door itself was installed. This step is frequently overlooked in DIY guides yet it remains one of the most common reasons a new installation runs into problems early.
Step 3: Removing the Old Door and Hardware Safely
Taking down an old door involves more than unscrewing a few panels. Older systems can have springs and cables holding stored tension even when the door looks like it is just sitting there closed. Panels are also heavier than they look and removing them one at a time without a plan for where they go and how they are supported is a common source of dropped panels and dented garage doors that never even made it to installation.
If your current door is old enough that this feels like more trouble than it is worth, it may be a good time to look at replacement instead of repair. Our Clopay lineup covers a wide range of styles if a fresh start makes more sense than working around an aging system.
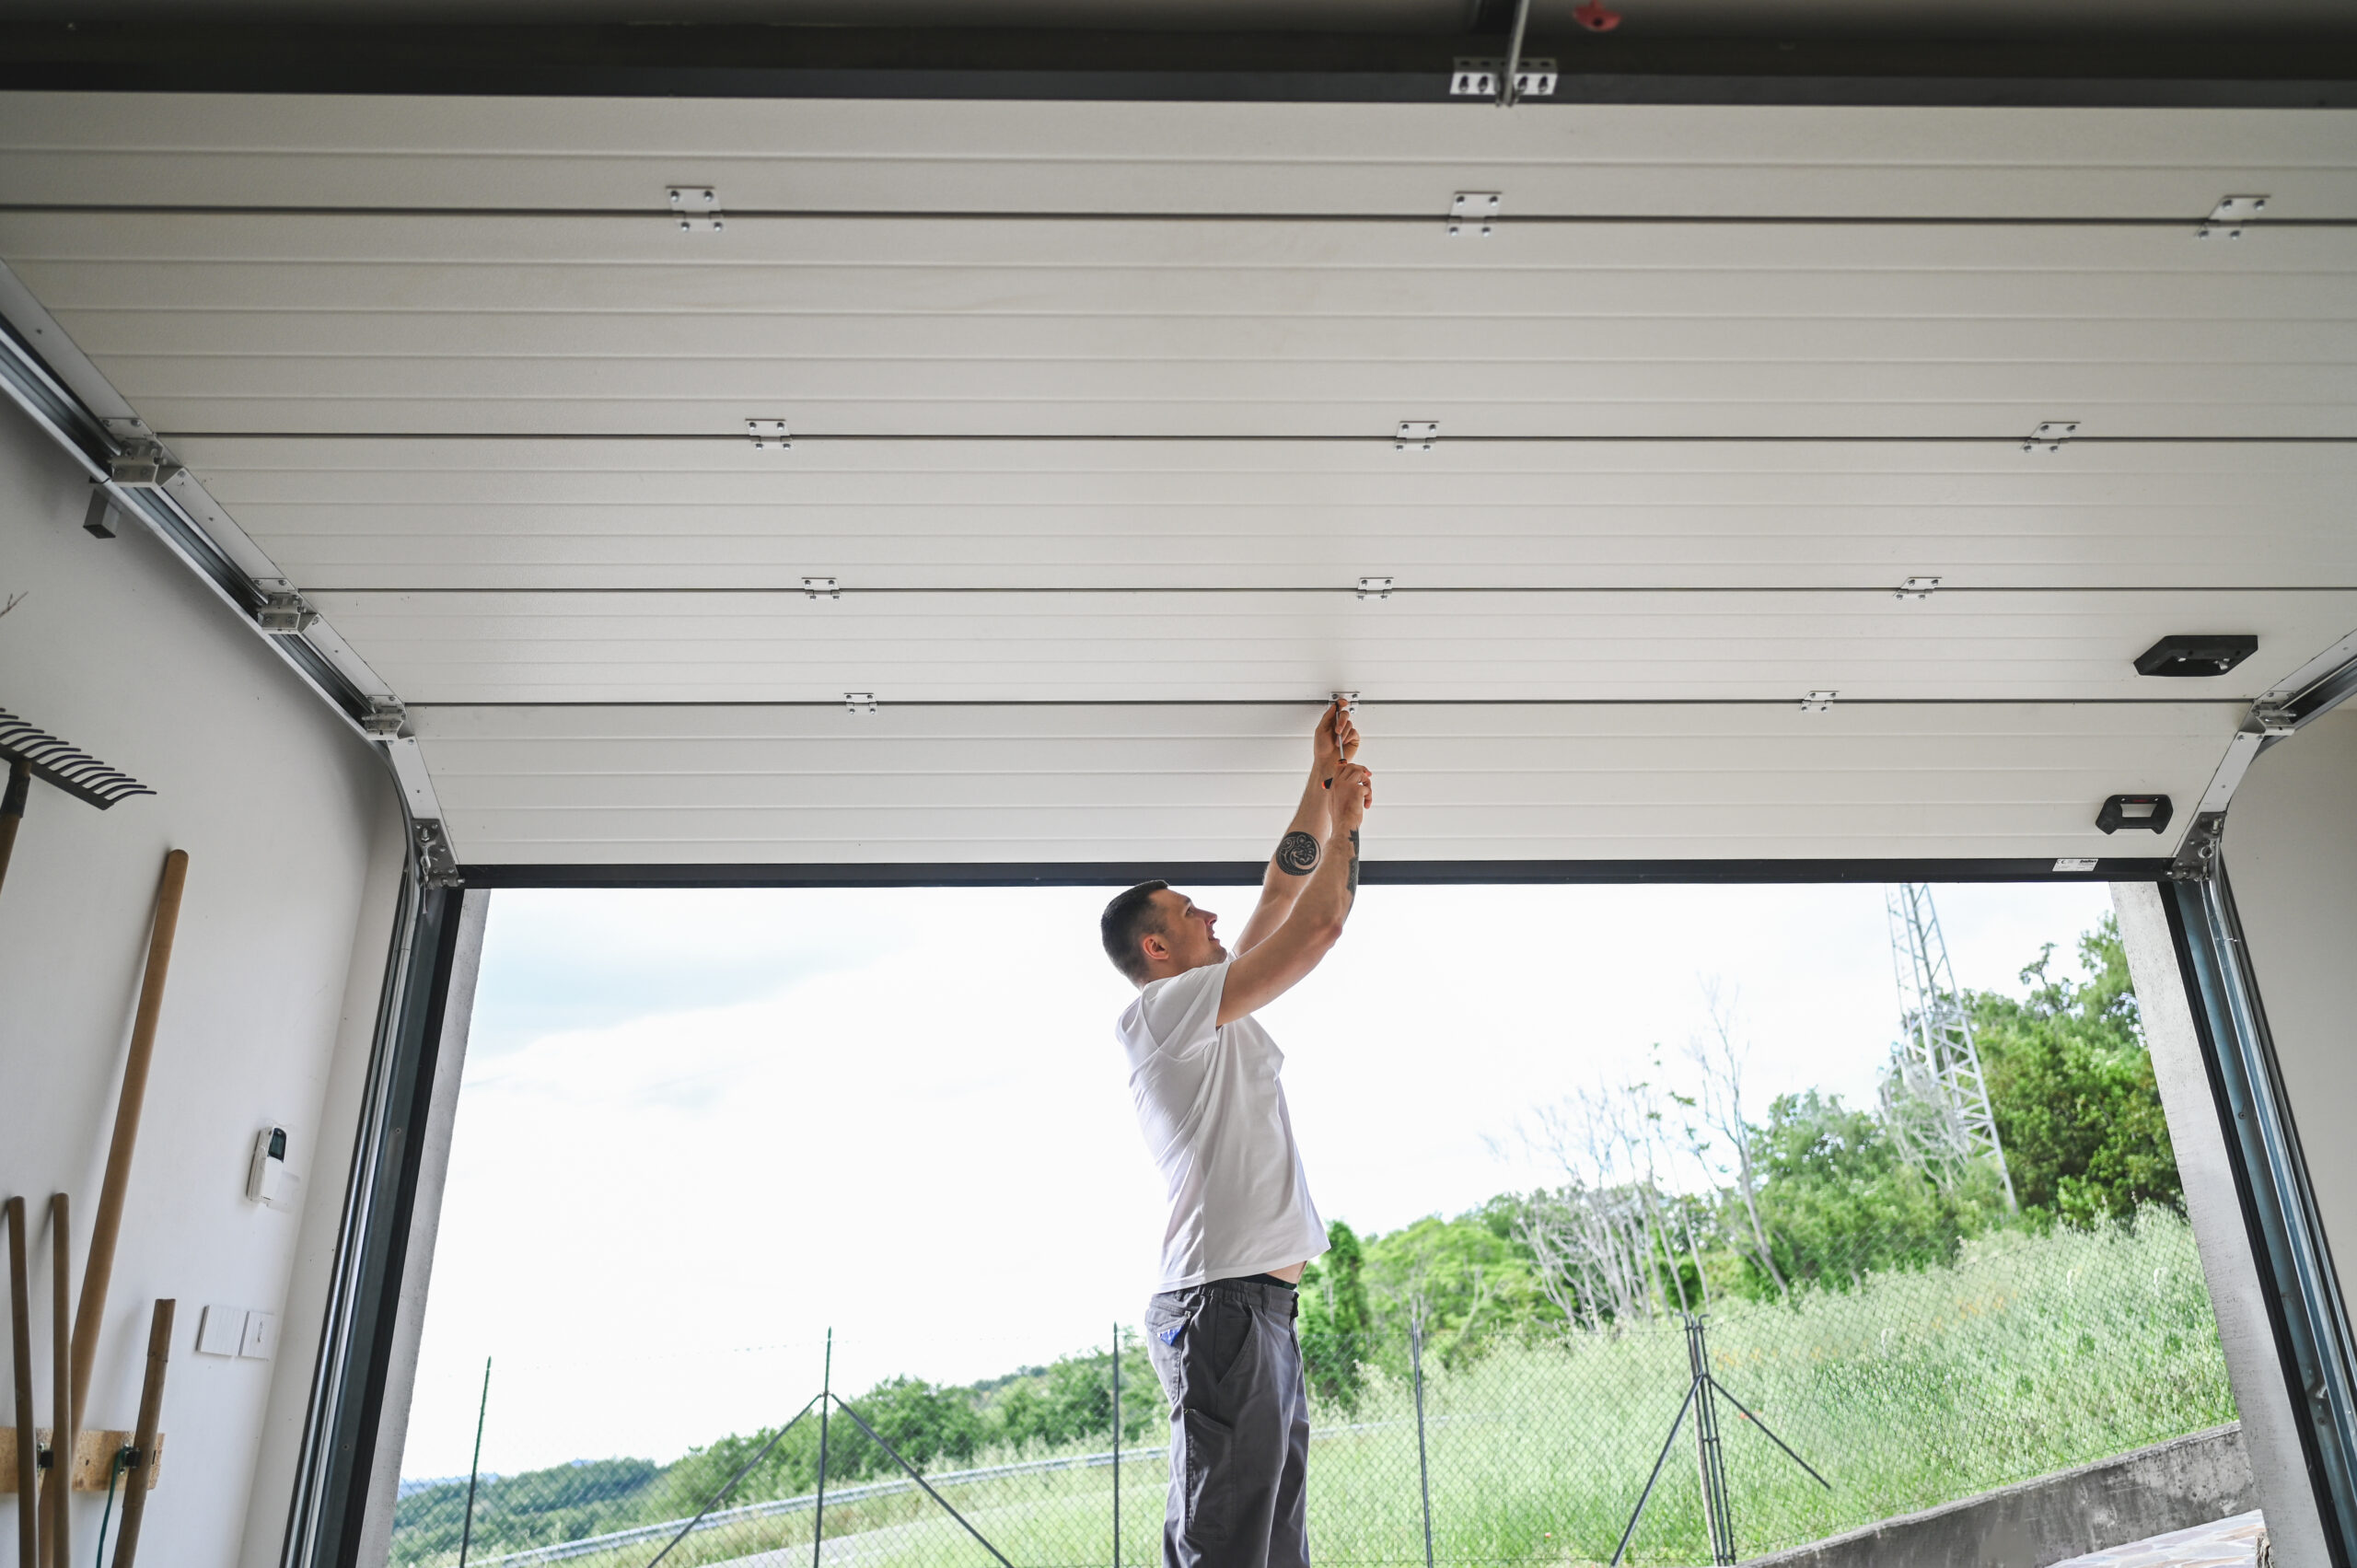
Step 4: Assembling and Hanging Panels in the Right Order
Panels typically go up from the bottom with each section aligned and hinged to the one before it. What most guides leave out is how much small misalignment compounds as you go. A slightly off hinge on the second panel can throw off the fit of every panel above it which is why professional installers check alignment continuously rather than only at the end.
Step 5: Getting the Track Level and Square
The vertical and horizontal tracks every movement the door makes for its entire lifespan. If they are even slightly out of level or not properly secured to the framing, the door will bind plus run unevenly and can place extra strain on the opener from day one. This step appears simple in a diagram, yet it is genuinely easy to get wrong without the right tools to check for plumb and level throughout.
Step 6: Installing and Balancing the Springs
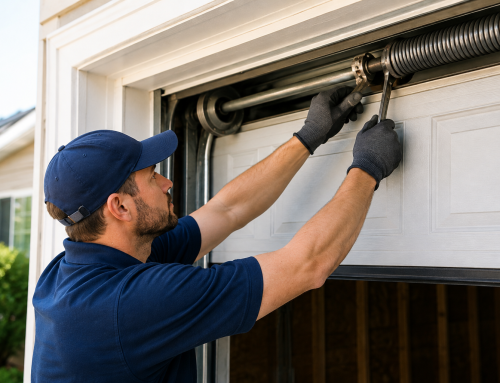
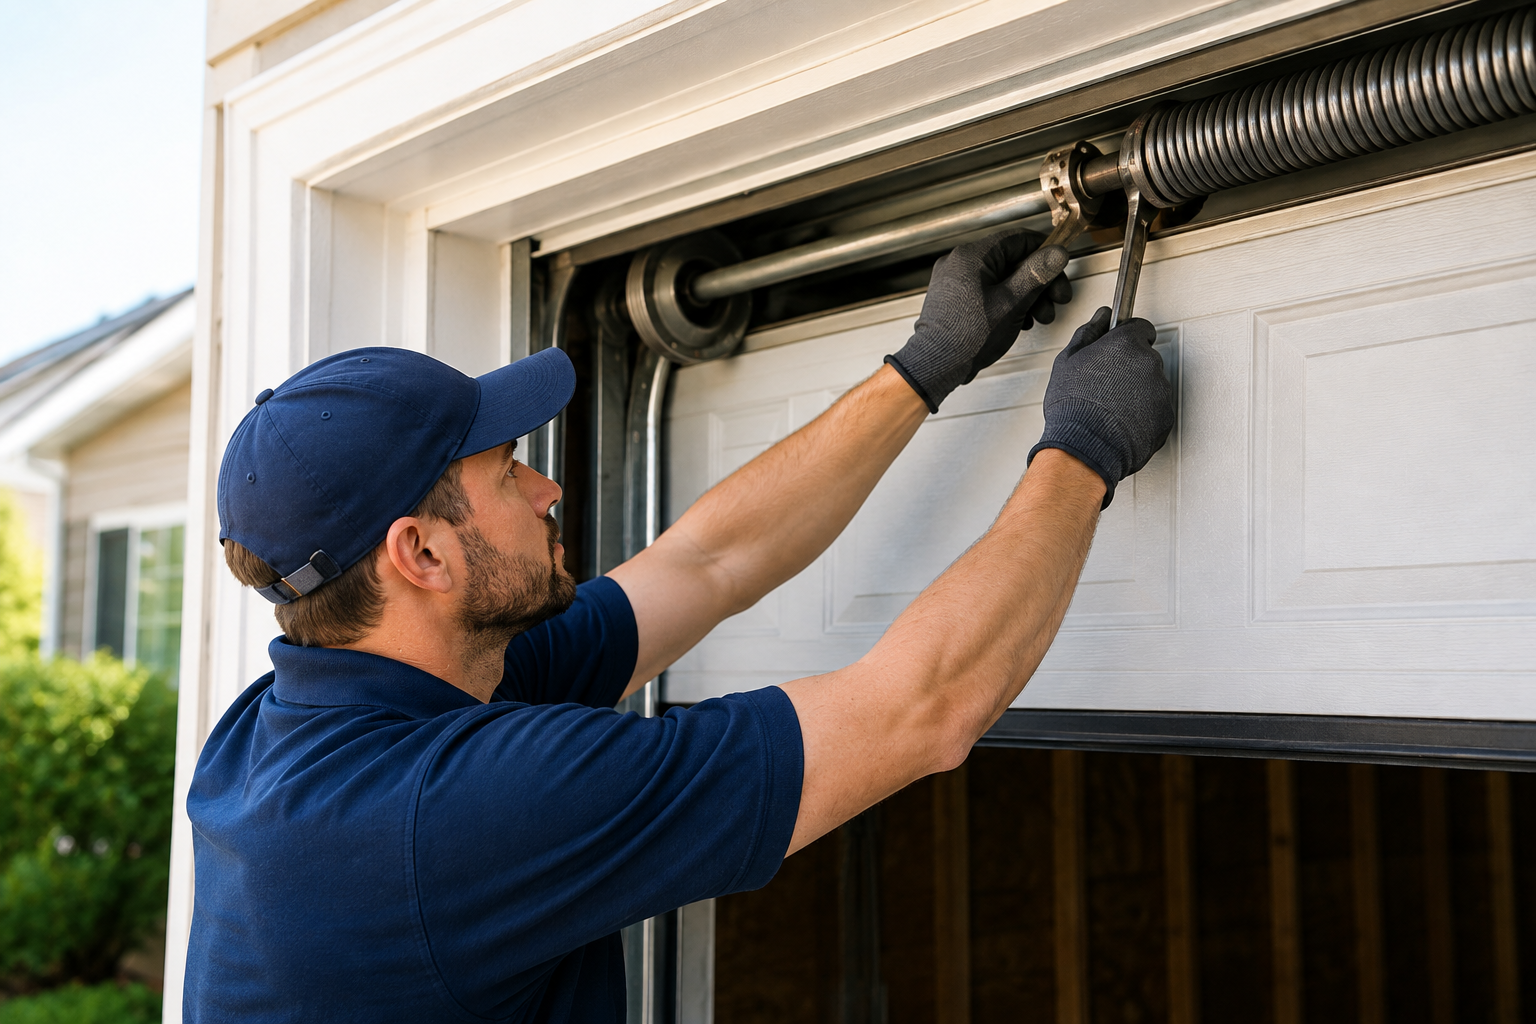
This is the step most installation walk through in detail and it is also the one we are not going to walk through here. Torsion and extension springs hold an enormous amount of stored tension, enough to cause serious injury if the winding process goes wrong. The U.S. Consumer Product Safety Commission has documented garage door spring hardware as a source of significant home injuries for decades which is exactly why we recommend leaving this specific step to a trained technician rather than attempting it from a video tutorial.
Getting spring tension right is also what determines whether a door opens smoothly or slams. Too much tension and the door can fly open forcefully. Too little and it will not stay up on its own. This is the step where professional installation earns its cost, even though it is the one most guides gloss over the actual risk of.
Step 7: Installing the Opener and Testing Everything Together
Once the door itself is hung and balanced, the opener gets mounted and connected, along with the safety sensors that stop or reverse the door if something is in its path. A proper installation ends with a full functional test:
- The door opens and closes evenly across its full range of motion.
- The safety reversal sensors stop or reverse the door correctly when something blocks the path.
- The door holds its position on its own when disconnected from the opener and lifted by hand.
- Hardware, brackets and track bolts are all fully tightened, not just snug.
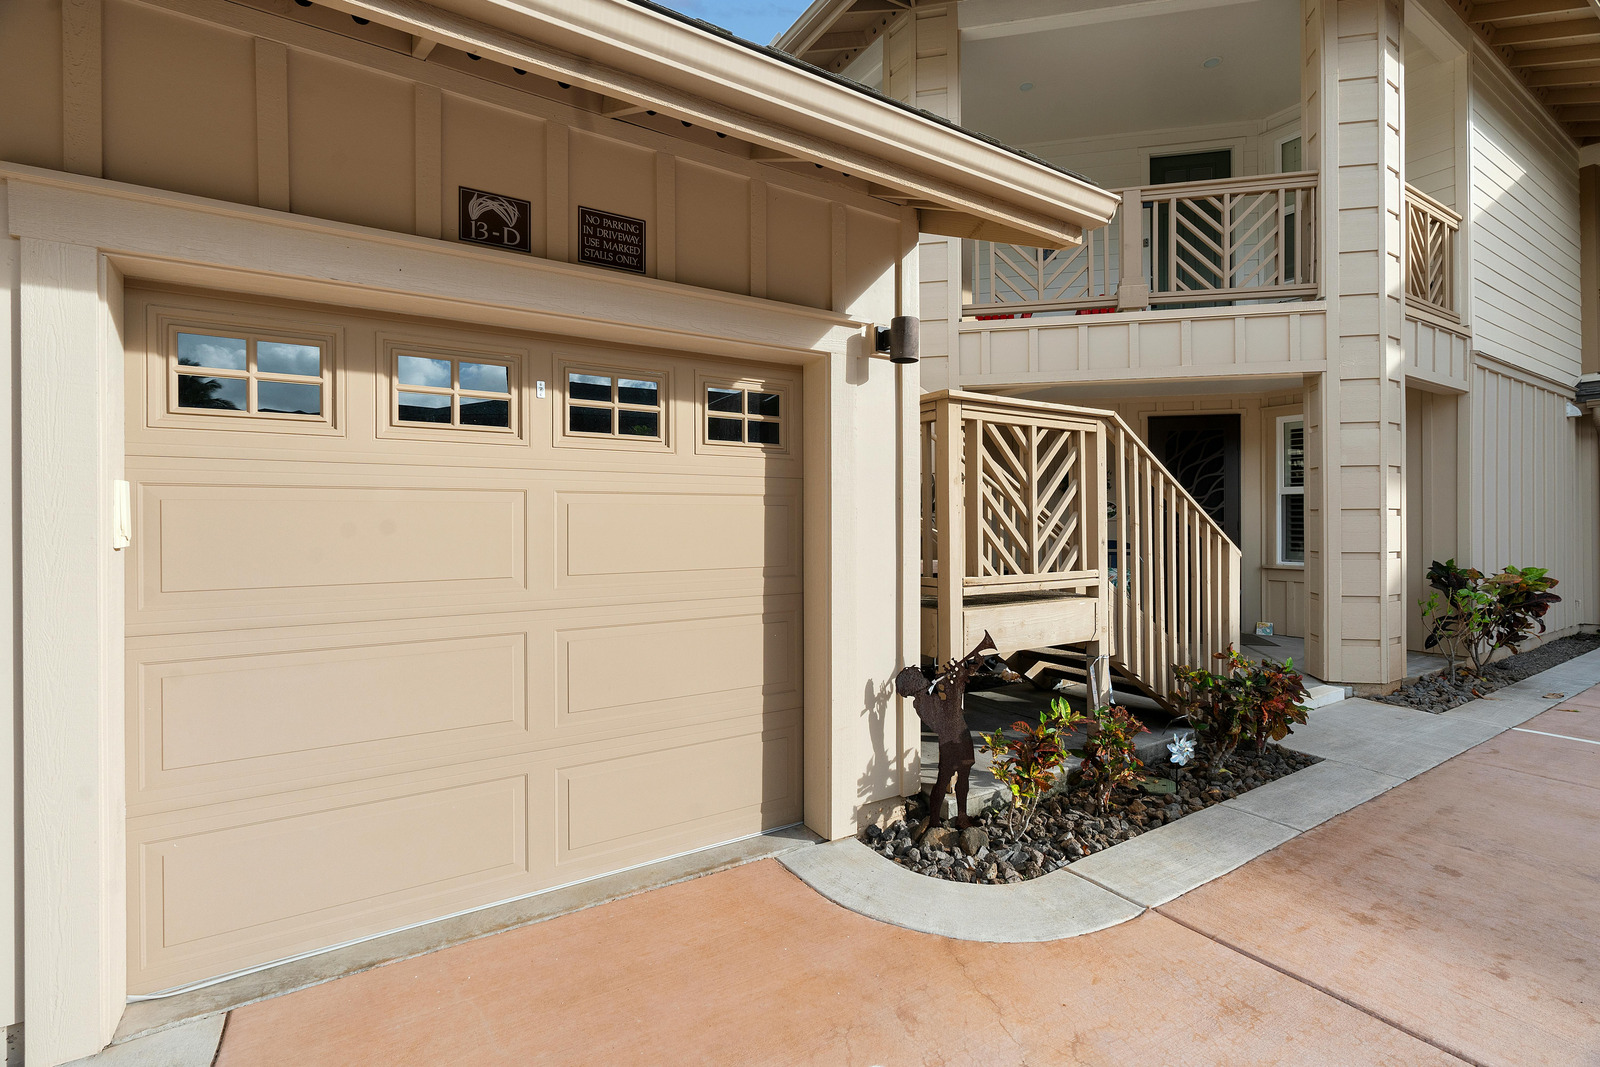
Skipping this final check is how small issues turn into service calls a few months down the line. This is also a good point to browse styles from our Amarr lineup if you are already thinking about your next door and want a sense of what carriage style options look like once fully installed.
Why the Details Matter More Than the Steps Themselves
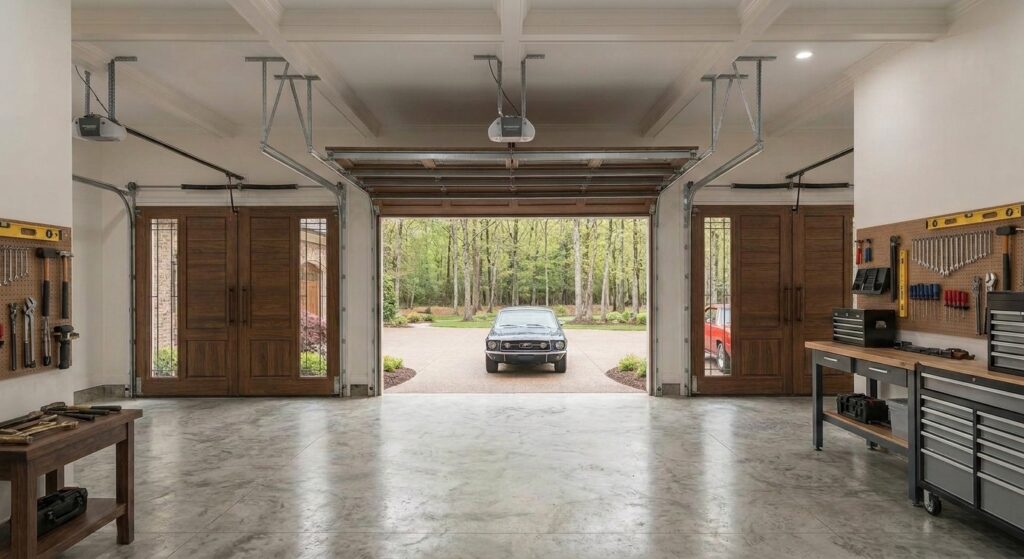
How to Install a Garage Door
Every guide online lists roughly the same seven steps because the basic sequence is not really the hard part. What separates a smooth installation from a problem one is the attention paid to alignment along with tension and framing at each stage and not just completing the steps in order. That is the part a diagram cannot really teach.
This is also why two installations that technically follow the same seven steps can end up with very different results. A door installed with rushed measurements or a slightly out of square track might work fine for the first few weeks then start showing uneven wear as well as a louder opener or a door that drifts out of alignment months later. The steps themselves are simple to list. Doing each one correctly, every time, is what actually takes years of experience.
When Professional Installation Makes More Sense Than DIY
If you already have experience with home improvement projects, some steps here, like removing an old door or preparing the opening, are reasonable to handle yourself. Spring installation and balancing is where we consistently recommend calling a professional, given the injury risk and how much it affects the long term performance of the door. Many homeowners also choose full professional installation simply because it comes with a warranty on the work, something a DIY install does not offer.
Getting Your Garage Door Installed the Right Way
We handle full garage door installation across Alabama, including measuring, framing checks, spring balancing and opener setup, all covered under warranty.
Reach out to us if you are planning a new installation or just want a second opinion before attempting it yourself. We will walk through exactly what your project needs.
FAQs
How long does a professional garage door installation take?
Most single door installations are completed in half a day to a full day, depending on whether the old system needs to be removed first and whether any framing repairs are needed.
Do I need a permit to install a new garage door?
In most cases a straightforward replacement does not require a permit, but changes to the opening size or structure might. It is worth a quick check with your local building department if your project goes beyond a like for like swap.
Can I install a new door without replacing the opener?
Yes, in many cases an existing opener can be reused as long as it is compatible with the new door’s weight and still functioning properly. A technician can confirm this during installation.
Is it actually cheaper to install a garage door myself?
It can save on labor costs upfront, but mistakes in framing, alignment or spring tension often lead to repair calls that offset the initial savings. Factoring in tools, time and the injury risk from springs changes the math for a lot of homeowners.
What is the most common mistake in DIY garage door installation?
Rushing the framing check and track alignment is one of the most common issues we see, since these steps look simple but have the biggest effect on how the door performs for years afterward.